Testing a Battery Charger: Step-by-Step Guide
Many people struggle with ensuring their battery chargers work properly, especially when they need them most. If you’ve ever been frustrated by slow charging or unexpected malfunctions, you’re not alone. Testing your battery charger can save you time and prevent future issues.
To test your battery charger, start by identifying its type and gather your tools like a multimeter and load tester. Check the voltage stability during charging and evaluate charging speed. Look for signs of malfunction, such as overheating or inconsistent charging.
Clean any dust from connections and verify cables are intact. Monitor the charger over time for the best results.
You’ll find more tips to improve your charger’s performance as you go along.
Key Takeaways
- Identify the charger type and use the right testing methods to get accurate results.
- Measure voltage stability with a multimeter during charging cycles to assess performance.
- Keep an eye on charging speed and check for overheating to spot potential issues early.
- Test the battery health before and after charging with a battery tester for a thorough evaluation.
- Clean and maintain your chargers regularly to help them last longer and work better.
Essential Steps to Test Your Battery Charger
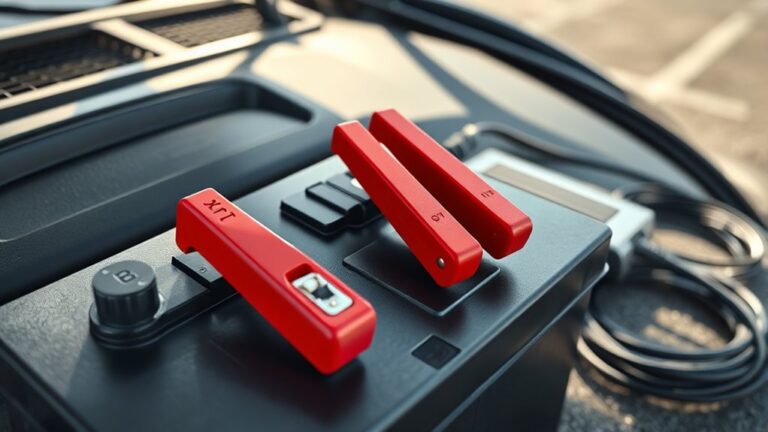
Testing your battery charger is key to making sure it’s working correctly. First, identify what type of charger you have because each one needs a different testing approach.
Check the voltage stability—it should match what the manufacturer says. Use a multimeter to test the output voltage during different charging cycles to see if it stays consistent.
Next, look at your power sources. A faulty outlet can mess with your charger’s performance, so try plugging it into different outlets. Keep in mind that environmental factors like temperature and humidity can also affect charging efficiency.
Monitor how fast your battery charges. If it’s slow, that could be a sign something’s wrong. Finally, remember some useful tips like avoiding overcharging and keeping track of performance over time.
Tools You’ll Need for Testing
To test your battery charger properly, you’ll want to have a few key tools nearby. A multimeter is a must-have because it lets you check the voltage and make sure everything’s working just right. You’ll also need a load tester to see how the charger performs under real-world conditions.
And don’t forget about safety! Wearing gloves and goggles is really important to keep yourself protected while you’re working. Having these tools and safety gear handy will make the testing process safer and a lot easier.
Essential Testing Equipment
In testing a battery charger, having the right tools is key to getting accurate results. Using proper equipment not only keeps you safe but also helps you understand different charging technologies and battery types better.
Here are four must-have items for your testing toolkit:
- Multimeter – This measures voltage and current, giving you a clear idea of how well your charger is working.
- Load Tester – It mimics real-world conditions, showing how the charger performs under load.
- Battery Tester – This is crucial for checking the health of various batteries before and after charging.
- Thermometer – Monitoring temperature helps prevent overheating during charging.
With these tools, you’re ready for a thorough and effective testing experience!
Safety Gear Requirements
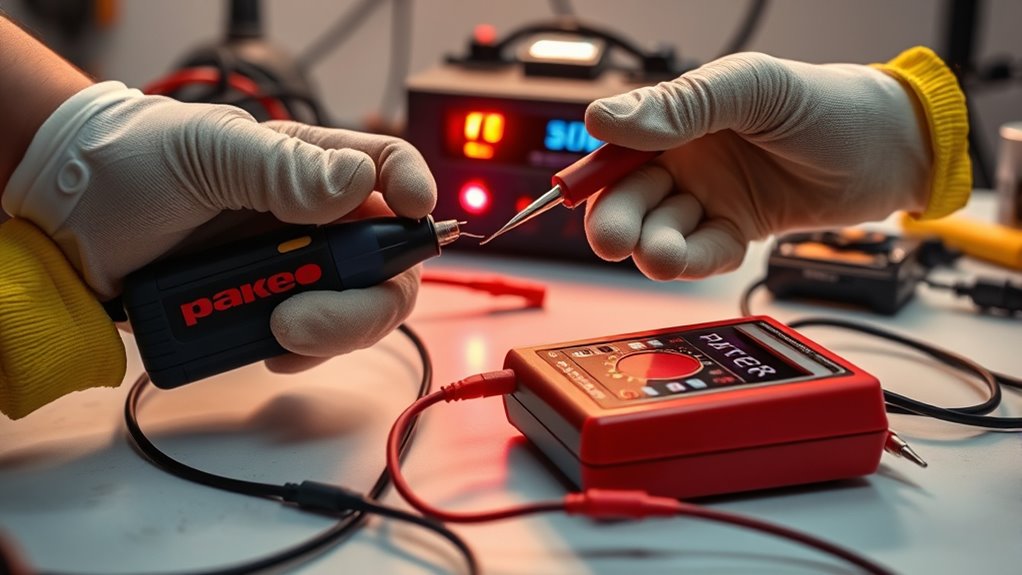
When you’re ready to test a battery charger, don’t forget about safety gear. Wearing proper protection can help prevent accidents and injuries during the process.
Start by putting on protective eyewear to shield your eyes from sparks or splashes. These glasses are essential for keeping your visibility clear and ensuring safety.
Next, wear insulated gloves to protect your hands from electric shocks. They’ll also help you grip tools securely, reducing the risk of slips or mishaps. If you have long hair or loose clothing, make sure to tie it back to avoid snagging or accidental contact with electrical parts.
Safety Precautions Before Testing
Before you begin testing your battery charger, it’s a good idea to wear the right protective gear, like gloves and safety goggles. It might seem simple, but these safety measures can really make a difference.
Also, take a moment to tidy up your workspace. Clearing away any clutter helps prevent accidents and keeps everything you need within easy reach.
Once you’ve got your safety gear on and your space organized, you’re all set to proceed safely with the testing.
Personal Protective Equipment
Although testing a battery charger can be straightforward, ensuring your safety is really important. Before you start, make sure you have the right personal protective equipment.
Here’s what you’ll need:
Protective gloves will shield your hands from accidental shocks and sharp edges.
Safety goggles protect your eyes from sparks or splashes that might happen.
Insulated tools help prevent electrical accidents while you work.
Grounding methods keep stray currents from harming you.
Workspace Organization Tips
To guarantee a safe testing environment for your battery charger, it’s crucial to organize your workspace effectively. Start with a clean setup, making sure you have plenty of room to work.
Use decluttering techniques to remove unnecessary items that could cause distractions or hazards. Keep tools and materials within easy reach to stay focused and efficient.
Utilize organization tools like bins or trays to sort components and prevent mix-ups. An efficient layout not only boosts safety but also makes you more productive, helping streamline your testing process.
Don’t forget to double-check that your workspace is well-lit and free of clutter that could obstruct your work. A tidy area helps prevent accidents and creates a positive testing experience.
How to Check Voltage Output of Your Charger
Checking the voltage output of your charger is key to making sure it works properly and safely. Doing this helps prevent damage to your devices and can help them last longer.
Here’s how you can check your charger’s voltage output the right way:
- Identify Your Charger’s Specs: Know the voltage your device needs. This info is usually on the charger or in the manual.
- Use Proper Voltage Measurement Techniques: Get familiar with the tools, like a multimeter, and how to use them for accurate readings.
- Check Charger Performance Factors: Think about things like load conditions, cable quality, and how old your charger is—they can all affect the output.
- Record Your Findings: Keep a note of what you measure for future reference and troubleshooting.
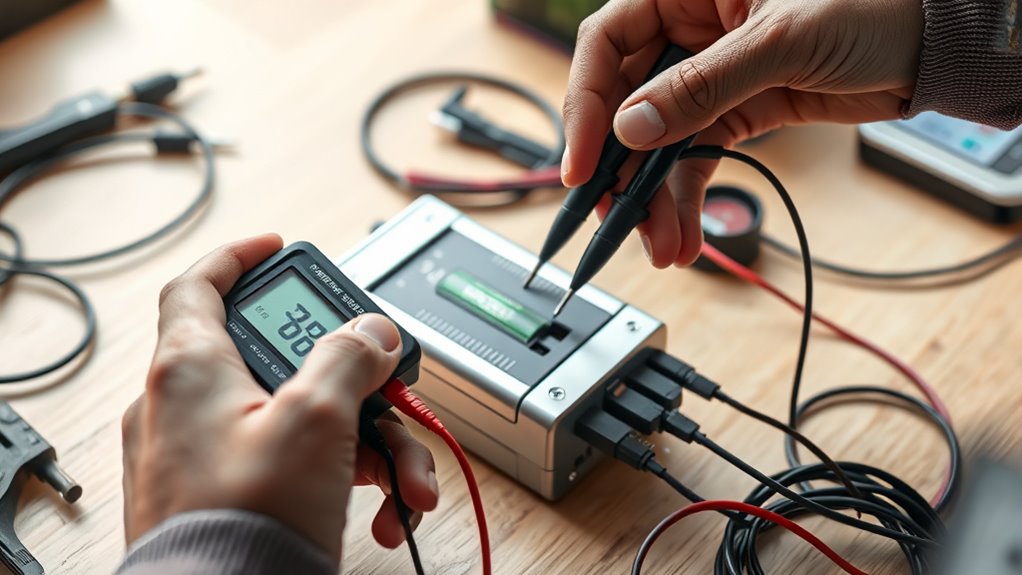
Testing Your Charger With a Multimeter
Once you’ve verified the voltage output, it’s time to test your charger directly with your multimeter. First, make sure your charger is compatible with the battery types you’re using. Then, set your multimeter to DC voltage, which is usually the right setting.
Connect the multimeter’s probes to the charger’s output: red to positive and black to negative. Plug in the charger and watch the reading on the multimeter. You want to see a voltage that matches what your batteries need.
If the reading is way lower or higher than expected, your charger might not be working properly. Finally, unplug the charger and check for any physical damage like frayed wires or burnt connectors. This helps ensure your charger is safe and ready to use for your batteries.
Troubleshooting Common Charging Issues
Having trouble with your battery charger? That can be really frustrating, especially when you’re counting on it to do its job. You might see that it charges inconsistently, gets unusually hot, or just doesn’t connect properly. Don’t worry—we’ll go through some common issues and how to fix them so you can get your charger working smoothly again.
Inconsistent Charging Performance
- Faulty Charger: A damaged charger can mess up your charging cycles, making performance unpredictable.
- Cable Issues: Worn or frayed cables can cause intermittent connections and shorten your battery’s lifespan.
- Device Compatibility: Make sure your charger matches your device’s requirements to ensure efficient charging.
- Battery Health: If your battery is old, it might struggle to hold a charge, which affects how well your device works.
Overheating Issues Explained
Inconsistent charging performance can often lead to another concern: overheating. When your charger gets too hot, it can damage both the charger and the battery.
Let’s look at some common causes of overheating and how to prevent them:
| Overheating Causes | Symptoms | Prevention Methods |
|---|---|---|
| Poor ventilation | Charger feels hot | Maintain airflow around the charger |
| Overloading the charger | Battery swelling | Use the appropriate charger for your battery |
| Faulty components | Unusual noises | Regularly inspect your charger |
| High ambient temperatures | Charger shuts off | Charge in cooler environments |
| Extended charging time | Reduced battery lifespan | Unplug once the battery is fully charged |
Faulty Connection Troubleshooting
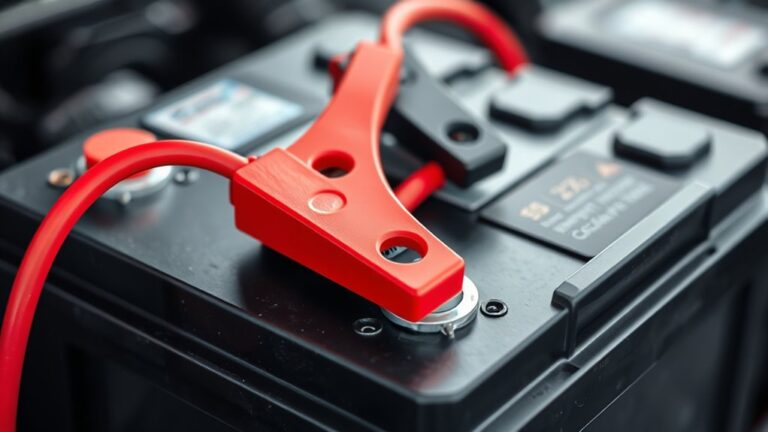
Faulty connections can cause frustrating charging issues, leaving you wondering why your device isn’t getting power. To troubleshoot effectively, check the following:
- Examine Connection Types: Make sure you’re using the correct connectors for your device.
- Inspect Cable Integrity: Look for frays, kinks, or damage that could disrupt the power flow.
- Test Power Source: Try plugging into a different outlet or use another charger to rule out the source.
- Clean Connectors: Dust and debris can interfere with connections, so ensure everything is clean.
How to Measure Charge Time and Efficiency
When you’re testing a battery charger, measuring charge time and efficiency is key to understanding how well it performs. Start by fully discharging your battery to get accurate results.
Connect the battery to the charger and note how long it takes to reach full capacity—that’s your charge time. For a more precise measurement, use a multimeter to record the input voltage and current during charging.
Next, figure out the efficiency. This involves comparing the energy input to the energy stored in the battery. Divide the total energy used in watt-hours by the energy the battery holds, then multiply by 100 for a percentage. A higher efficiency means less energy is wasted during charging.
Be sure to document your findings so you can compare them with the manufacturer’s specs. Knowing the charge time and efficiency helps you better understand your charger’s performance and reliability.
Common Signs Your Charger Is Malfunctioning
How can you tell if your charger is malfunctioning? It’s important to recognize the signs so you don’t waste time or risk damaging your devices. Here are some common indicators:
- Inconsistent Charging: Your device charges only intermittently or not at all.
- Overheating: The charger feels unusually hot during use, which can shorten its lifespan.
- Frayed Cables: Visible wear and tear on the cables can lead to unsafe charging conditions.
- Unusual Noises: You hear buzzing or popping sounds while charging, hinting at a deeper issue.
Don’t fall for charging myths that suggest all chargers last forever. Regularly check for these signs to make sure your charger is working properly.
If you notice any of these issues, it’s time to reassess your charger’s reliability before it causes bigger problems.
Signs It’s Time to Replace Your Battery Charger
Recognizing the signs of a malfunctioning charger is the first step, but knowing when it’s time to replace it is just as crucial. If your charger’s been in use for several years, it might be time for an upgrade.
A charger that frequently overheats or produces strange smells is a clear sign it’s failing. If your battery isn’t holding a charge as well as it used to, that could indicate a compatibility issue or that the charger is no longer effective.
Another red flag is inconsistent charging times. If your battery lifespan is much shorter than expected, your charger might not be delivering the right power. Finally, if you’re using multiple chargers for different devices, consider getting a new one with better compatibility.
Don’t wait until it’s too late. Investing in a reliable charger helps ensure your devices stay powered when you need them most.
Tips for Maintaining Your Battery Charger
To keep your battery charger in excellent shape, regular maintenance is crucial. By following these tips, you’ll guarantee peak performance and longevity:
- Clean Regularly: Dust and debris can affect how well your charger works. Use a microfiber cloth and gentle cleaning techniques to wipe it down.
- Store Properly: Keep your charger away from extreme temperatures. Store it in a place that protects it from moisture and physical damage.
- Monitor Usage Habits: Avoid overcharging your batteries. Following good usage habits can prevent overheating and help extend your battery life.
- Troubleshooting Basics: If you notice any issues, troubleshoot right away. Addressing problems early can save you from costly replacements.
Incorporating these maintenance tips into your routine will improve your charger’s care and ensure reliable performance. With proper attention, you’ll enjoy a longer-lasting charger and worry-free charging experiences!
Frequently Asked Questions
How Often Should I Test My Battery Charger?
You should test your battery charger at least once every few months to make sure it’s working properly. Regular checks help catch any issues early before they become bigger problems.
Also, check that your charger is compatible with your batteries. Using the wrong charger can sometimes cause damage, so it’s best to double-check.
Can I Use a Car Charger for Different Battery Types?
You can’t always use a car charger for different battery types because of compatibility issues. Each charger has specific voltage and amperage settings made for certain batteries.
For example, a charger meant for lead-acid batteries might not work well with lithium-ion batteries. Always check the manufacturer’s guidelines before trying to use a charger on a different battery type.
This helps prevent damage or safety hazards. It’s safest to use a charger designed specifically for your battery to avoid any problems.
What Should I Do if My Charger Overheats?
If your charger’s overheating, it’s time to hit pause—not a new record for temperature! First, unplug it and let it cool down.
Overheating often comes from poor ventilation or using it with incompatible batteries. Prioritize charger safety and never ignore warning signs.
Check for damage or short circuits, and remember, charging shouldn’t feel like a sauna session. If the problem keeps happening, consider replacing your charger to avoid potential hazards.
Are There Specific Brands Known for Reliable Chargers?
Yes, several charger brands are known for their reliability ratings. Anker, Belkin, and RAVPower consistently get high marks for durability and efficiency.
When you’re choosing, it’s a good idea to check user reviews and industry tests to see how they perform in real life.
Also, look for warranties, as they often show how confident a brand is in its product.
How Can I Recycle an Old Battery Charger?
You can recycle an old battery charger by checking local e-waste recycling programs. About 50 million tons of electronic waste are generated globally each year.
Proper charger disposal methods help reduce the environmental impact of hazardous materials. Many retailers offer take-back programs, so you can drop off your charger safely.
Don’t forget to remove any batteries before recycling, as they need to be handled separately to ensure responsible disposal.
Conclusion
To sum up, testing your battery charger is easier than you might think, and it can save you from the hassle of a dead battery at the worst possible moment.
By following these steps, you’ll ensure your charger is working like a superhero, ready to power up your devices when needed.
Remember, regular maintenance keeps your charger running smoothly, so don’t let a faulty charger zap your energy.
Stay charged and keep your gadgets alive by making sure your battery charger is always in good shape.