How to Rebuild the Kawasaki FE290 Carburetor
Many Kawasaki FE290 owners know how frustrating it can be when your equipment isn’t running smoothly, and you suspect the carburetor is the culprit. You’re not alone—carburetor issues are common, but they’re also fixable with a little know-how.
To rebuild your Kawasaki FE290 carburetor, start by gathering essential tools like screwdrivers, wrenches, and pliers. Disassemble the carburetor carefully, labeling each part to avoid confusion.
Clean all components thoroughly with carburetor cleaner and compressed air. Reassemble by ensuring the float and needle are positioned correctly, then tighten everything securely.
Finally, tune the carburetor’s idle and air-fuel mixture for peak performance. Stick around, and you’ll uncover tips to troubleshoot any issues that might arise.
Key Takeaways
- Gather essential tools like screwdrivers, wrenches, and pliers, and make sure you have cleaning supplies such as carburetor cleaner and compressed air ready.
- Carefully disassemble the carburetor, labeling components to make reassembly easier and prevent losing any parts.
- Check key parts like gaskets, the float, and jets for wear or clogs, and replace any damaged or worn components with quality replacements.
- Reassemble the carburetor, making sure gaskets are aligned correctly and fuel line connections are tight to prevent leaks.
- Finally, tune the carburetor by adjusting the idle speed and air-fuel mixture screws for the best engine performance and efficiency.
Key Signs Your Carburetor Needs Attention
When your Kawasaki FE290 starts showing signs of trouble, it’s important to check your carburetor. You might notice symptoms like fuel leaks or a clogged jet that point to carburetor issues.
If your engine runs rough or hesitates, that’s a red flag. It shouldn’t stumble or hesitate while running. These are signs your carburetor might need cleaning or repair.
Hard starts can also be a sign of a problem, making it frustrating to get your equipment going. Keep an eye out for engine misfires, which can cause poor acceleration and inefficiency.
Hard starts and engine misfires signal deeper issues, leading to frustrating delays and diminished performance. Stay vigilant to keep your equipment running smoothly.
Excessive smoking from the exhaust is another clear indicator that your carburetor isn’t working right. Addressing these issues early can save you time and money, keeping your Kawasaki FE290 running smoothly.
Don’t wait for these symptoms to worsen; take action now to keep your equipment in top shape!
Essential Tools for Rebuilding Your Kawasaki FE290 Carburetor
To rebuild your Kawasaki FE290 carburetor smoothly, you’ll want to gather a few key tools first. Basic hand tools like screwdrivers and wrenches are essential—they’ll help you take everything apart and put it back together without a hitch.
And don’t forget about cleaning supplies! Having the right cleaners and brushes will make sure all those tiny passages and parts are spotless, which is super important for your carb to run like new.
Basic Hand Tools Needed
Before diving into rebuilding your Kawasaki FE290 carburetor, make sure you have some essential hand tools ready. Having the right tools will make the process smoother and easier.
Here are three must-have tools to keep on hand:
- Screwdrivers – A set of flathead and Phillips screwdrivers will help you remove the carburetor housing and other parts.
- Wrenches – An adjustable wrench and socket wrenches are great for handling different bolt sizes.
- Pliers – Needle-nose pliers are perfect for grabbing small parts and securing hoses.
With these tools ready, you’ll be well-equipped to rebuild your carburetor efficiently.
Cleaning Supplies Required
Having the right cleaning supplies is essential for effectively rebuilding your Kawasaki FE290 carburetor. Proper carburetor maintenance keeps your fuel system running smoothly.
Below is a list of supplies you’ll need:
| Item | Purpose |
|---|---|
| Carburetor cleaner | Dissolves varnish and debris |
| Compressed air | Blows out small passages |
| Soft brushes | Cleans delicate components |
Make sure you have these on hand before you start. Using carburetor cleaner helps remove stubborn deposits, while compressed air ensures every nook and cranny is clear. Soft brushes are handy to avoid damaging sensitive areas.
With these supplies, you’ll be well-equipped for a successful rebuild.
Identifying Problems: Understanding Your Carburetor System
Understanding your carburetor system is key, especially when you notice performance issues with your Kawasaki FE290. Spotting problems early can save you time and hassle later.
Here are some basics to help you identify when something’s wrong:
- Poor acceleration: If your engine hesitates or stutters when you press the gas, the fuel mixture might be off.
- Inefficient fuel consumption: Suddenly using more fuel than usual could mean there’s a leak or the carburetor isn’t calibrated right.
- Rough idling: If your engine shakes or struggles to stay running, debris could be clogging the jets or the fuel mixture might be unbalanced.
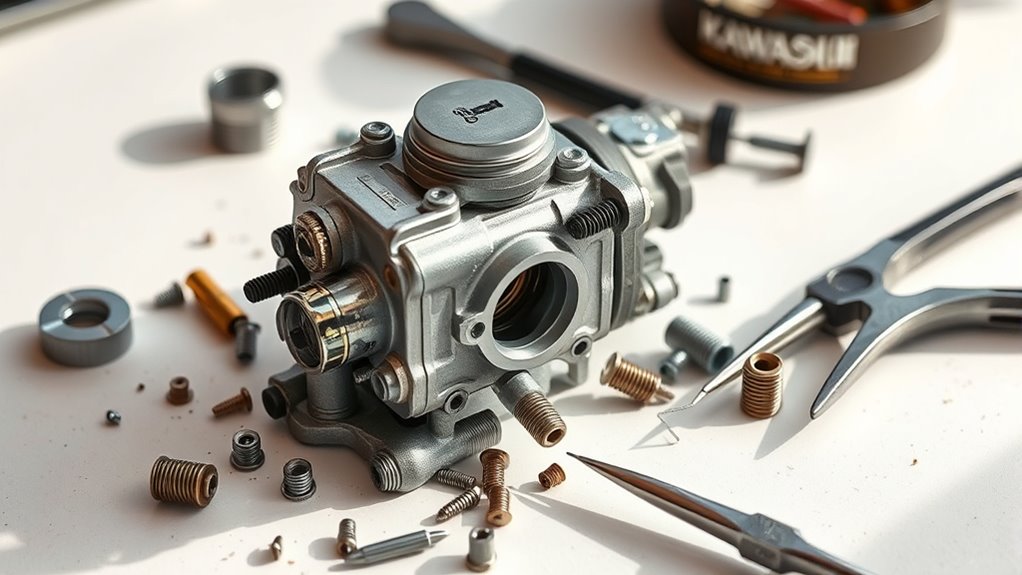
Step-by-Step Disassembly of the Carburetor
Before you dive into taking apart the Kawasaki FE290 carburetor, it’s a good idea to gather all the tools you’ll need first. Having everything on hand makes the process way smoother and less frustrating. And don’t forget, safety first! Make sure to follow proper disassembly techniques so you don’t accidentally damage any of the delicate parts.
It’s also a smart move to get familiar with the different components of the carburetor before you start taking things apart. Knowing what each part does will help you stay organized and make the rebuild process much easier. Plus, it’s always satisfying to understand how everything fits together in the end!
Essential Tools Needed
To successfully disassemble the Kawasaki FE290 carburetor, you’ll want to have a few key tools on hand. Having the right equipment makes the process easier and helps you effectively maintain and improve your carburetor’s fuel efficiency.
- Screwdrivers: A set of flathead and Phillips screwdrivers will help you remove various screws without stripping them.
- Wrenches: A small set of wrenches or sockets is essential for loosening bolts and nuts securing the carburetor.
- Clean Cloths: Keep some clean cloths nearby to wipe down parts and prevent dirt or debris from entering critical areas.
With these tools ready, you’re all set to start disassembling and work on your carburetor rebuild efficiently.
Safe Disassembly Techniques
As you prepare to disassemble the Kawasaki FE290 carburetor, it’s important to follow safe techniques to avoid damage and ensure an easy rebuild. Start by wearing protective gear, like gloves and safety goggles, to protect yourself from debris and fuel splashes.
Make sure your workspace is clean and organized before you begin. This helps prevent losing small parts and keeps things manageable. Carefully remove any external components, and label them so you know where each piece belongs later.
Use the proper tools to avoid stripping screws or damaging the carburetor body. Take your time with each step—rushing can cause mistakes. Remember, safety and attention to detail are key to a successful disassembly. Stay focused and work carefully throughout the process.
Identifying Carburetor Components
Disassembling the Kawasaki FE290 carburetor requires a good understanding of its parts. Getting familiar with different carburetor types and what each component does will make the process easier.
Here’s a quick guide to the key parts you’ll come across:
- Float: Controls the fuel flow into the bowl and keeps the fuel level just right.
- Jet: Regulates the fuel-air mixture, which is crucial for good engine performance.
- Throttle Plate: Adjusts airflow, affecting how fast and powerful the engine runs.
As you identify these parts, think about how they work together. Knowing their functions helps you troubleshoot and rebuild more effectively.
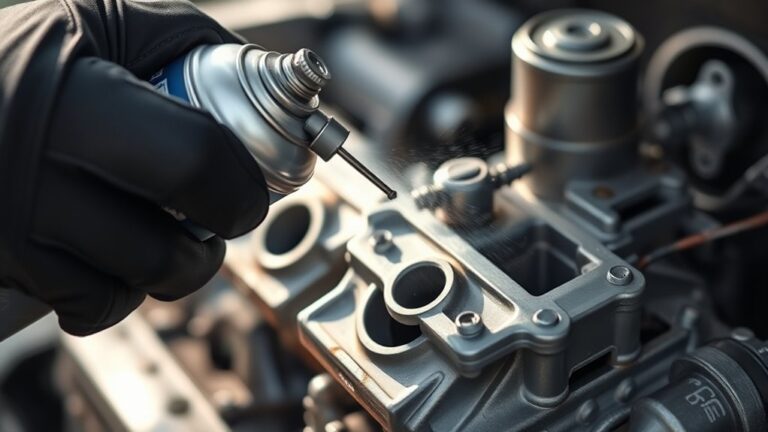
Cleaning Techniques for the Kawasaki FE290 Carburetor
Cleaning the Kawasaki FE290 carburetor is essential for peak engine performance. Start by removing the carburetor from the engine, making sure to carefully disconnect the fuel lines to avoid spills. Use a carburetor cleaning solution, which effectively removes dirt and deposits that can clog the fuel system.
Disassemble the carburetor, taking note of each component so you can reassemble it later. Soak the parts in the cleaning solution and use a soft brush to scrub hard-to-reach areas. Pay close attention to the jets and passages, as any blockage can hinder fuel flow.
Rinse everything thoroughly with clean water, then dry the components completely to prevent rust. You might also want to use compressed air to blow out any remaining debris. Proper cleaning not only keeps your engine running efficiently but also helps it last longer.
Finally, reassemble the carburetor carefully, ensuring all parts are in place. With these steps, you’ll enjoy better performance and a healthier engine.
Replace Worn Parts for Best Performance
Want your Kawasaki FE290 to run at its best? The key is to keep an eye on those important parts and replace them when they show signs of wear. Catching worn components early can save you a lot of time and hassle later on.
And don’t forget—using quality replacement parts is super important. It helps ensure your carburetor keeps running smoothly and efficiently, so your engine performs like it should.
Inspect Key Components
Inspecting key components of the Kawasaki FE290 carburetor is essential for peak performance. Regular carburetor maintenance helps guarantee your engine runs smoothly and efficiently.
To optimize performance, focus on these key areas:
- Gaskets and O-rings: Check for cracks or wear. Replacing these prevents air leaks that can affect the fuel mixture.
- Float and Needle Valve: Confirm they operate smoothly. A malfunction can lead to flooding or fuel starvation.
- Jetting: Inspect the jets for clogs or damage. Clean or replace them to maintain proper fuel flow.
Choose Quality Replacements
While you might be tempted to use old parts, choosing quality replacements is essential for ensuring your Kawasaki FE290 carburetor performs at its best. Worn components can mess with performance, leading to poor fuel delivery and less power.
Opt for parts made from good-quality materials to guarantee durability and reliability. Investing in these parts pays off, especially if you’re aiming for better performance upgrades.
For example, upgrading the jets or float can significantly improve throttle response and fuel efficiency. Just make sure the parts are compatible with your carburetor model, as using cheap or incorrect parts can cause more problems later on.
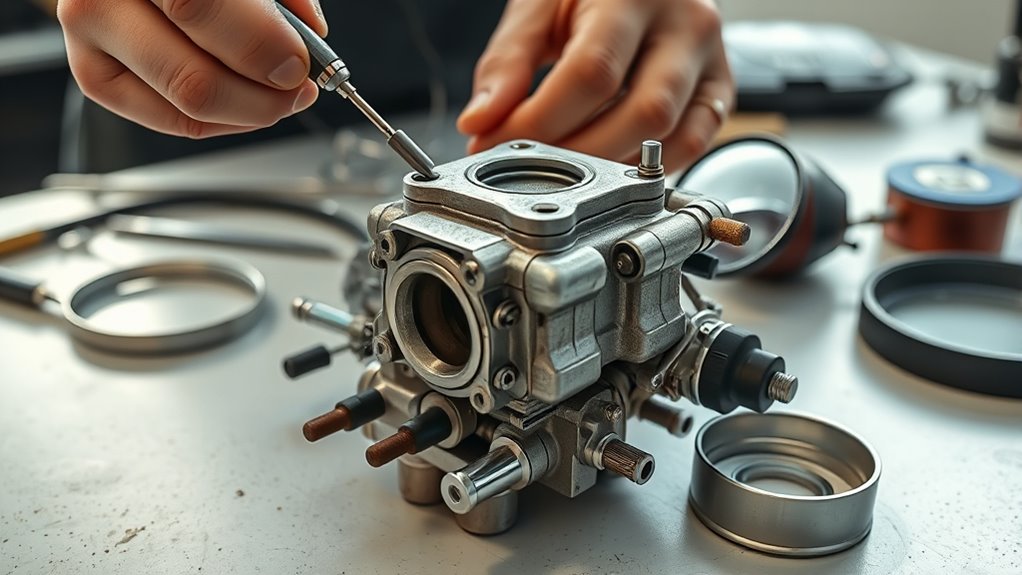
Step-by-Step Guide to Reassembling Your Carburetor
Reassembling your Kawasaki FE290 carburetor might seem a bit overwhelming, but if you take it step by step, you’ll get it done easily. Just refresh your memory on the carburetor parts so you know exactly where everything goes.
Start by installing the float and needle, making sure they move freely in their housing. Then, align the gasket properly before securing the cover with screws. Be careful not to overtighten to avoid damage.
Next, reconnect the fuel lines, ensuring they’re snugly attached to prevent leaks. Leaks can mess up any tuning or performance upgrades you plan to do later.
Once everything’s in place, double-check your work. A properly reassembled carburetor is key to getting your engine to run smoothly. With patience and attention to detail, you’ll be ready to tune it for maximum efficiency!
Tuning Your Carburetor for Peak Performance
After you’ve reassembled your Kawasaki FE290 carburetor, tuning it for peak performance is the next important step. Start by adjusting the carburetor settings, beginning with the idle speed screw. Turn it until the engine idles smoothly.
Next, adjust the air-fuel mixture screw to find that ideal balance for efficient combustion. Look for that sweet spot where the engine runs well without bogging down or sputtering. Checking the float level is also crucial because a proper level ensures a steady fuel supply, which boosts performance.
Adjusting the air-fuel mixture screw is key for optimal combustion and performance; ensure the float level is set for a steady fuel supply.
If you notice hesitation during acceleration, go back and revisit those adjustments. It’s a good idea to take the machine for a test run afterward. Listen for any unusual sounds and watch how it responds under load. Fine-tuning these settings can really improve your engine’s power and responsiveness.
With patience and care, you’ll get the most out of your rebuilt carburetor and enjoy smooth, peak performance.
Troubleshooting Your Rebuilt Carburetor
If your rebuilt Kawasaki FE290 carburetor isn’t working quite right, it’s important to find out what’s going wrong quickly. Start by checking some common issues that could be affecting performance.
First, look for leaks around all the connections and gaskets. A leak can really mess with fuel flow and how your engine runs.
Next, make sure your fuel lines are clear and the fuel filter isn’t clogged. If fuel isn’t flowing properly, your engine might respond poorly or stall.
Finally, double-check your adjustments. An improperly calibrated carburetor can cause bad air-fuel mixtures, leading to stalling or sluggish acceleration.
Common Post-Rebuild Issues for the Kawasaki FE290
When you rebuild the Kawasaki FE290 carburetor, a few common issues might pop up that can affect how well it runs. One big problem is fuel flow. If the fuel lines are clogged or the fuel filter is dirty, you might notice sluggish acceleration or the engine stalling. Be sure to check for blockages and replace worn parts to keep the fuel moving smoothly.
Another common issue is the air mixture. If it’s too rich or too lean, it can cause poor combustion and reduce engine efficiency. Adjust the mixture screws carefully, and if you’re unsure, check the manual for the right settings.
Lastly, don’t forget about the gaskets and seals. Leaks here can mess up the fuel flow and air mixture. Once you’ve addressed these issues, your Kawasaki FE290 should run smoothly and be ready for any task.
Frequently Asked Questions
How Often Should I Rebuild My Kawasaki FE290 Carburetor?
You should rebuild your Kawasaki FE290 carburetor every one to two years, depending on how much you use it.
Regular maintenance tips include checking for common issues like leaks or clogged jets. If you notice performance drops or the engine stalls, it’s a good idea to check it more often.
Staying on top of maintenance can save you from costly repairs and help your engine last longer. Keep an eye on how it runs to make sure everything stays smooth.
Can I Rebuild the Carburetor Without Professional Help?
Yes, you can rebuild the carburetor without professional help. If you notice symptoms like rough idling or poor fuel efficiency, it’s a good sign you need to do a rebuild.
Gather the right tools, like screwdrivers, wrenches, and a cleaning kit, to make the process easier.
With patience and a bit of research, you’ll be able to handle the job yourself and save on repair costs.
What Safety Precautions Should I Take During the Rebuild?
When you’re rebuilding the carburetor, prioritize safety. Always work in a well-ventilated area to avoid fumes, and wear protective eyewear and gloves.
Make sure to handle fuel safely—store it in approved containers and keep it away from open flames. Also, maintain your tools; guarantee they’re clean and in good condition to prevent accidents.
Following these precautions will help you work efficiently and reduce the risk of injury during the rebuild.
Are Aftermarket Parts Reliable for the Kawasaki FE290 Carburetor?
Aftermarket parts can be a mixed bag, like a box of chocolates—you never know what you’ll get. While some offer quality that matches OEM parts, others might not perform as well.
It’s important to do a performance comparison before you buy. Look for trusted brands and read reviews to make sure it’s reliable.
Spending a bit of time on research now can save you headaches later. This way, your Kawasaki FE290 will keep running smoothly.
How Long Does a Carburetor Rebuild Typically Take?
A carburetor rebuild usually takes about one to three hours, depending on your experience and how complex the job is.
Having the right rebuild tools can really boost your carburetor’s performance.
Make sure you have everything you need before you start so you don’t waste time looking for parts.
Taking your time is key to doing it right, which will help your engine run more smoothly once you’re done.
Conclusion
Rebuilding your Kawasaki FE290 carburetor isn’t just a task; it’s like breathing new life into a trusted companion. With each step, you’re not only restoring functionality but also forging a bond with your machine that’ll propel you forward.
Remember, a well-tuned carburetor is the heartbeat of your engine, ensuring smooth runs and roaring power. So, dive into the process with confidence, trust your skills, and watch your efforts transform that engine into a symphony of performance.
By rebuilding the Kawasaki FE290 carburetor, you’re giving your engine the care it deserves and keeping it running at its best.