7 Simple Steps to Adjust Carburetor Float
Many people struggle with maintaining their equipment, especially when it comes to carburetor adjustments. If you’ve ever felt frustrated by engine issues or poor performance, you’re not alone.
Luckily, adjusting your carburetor float is a straightforward process that can save you time and money.
To adjust your carburetor float, first gather essential tools like a screwdriver and carburetor gauge.
Next, remove the carburetor by disconnecting the fuel line and unscrewing it from the engine.
Once removed, locate the float assembly and inspect it for damage.
Adjust the float height by gently bending the tab according to manufacturer specs.
Reassemble the carburetor, ensuring everything’s aligned.
After reinstalling, test your engine performance to confirm the settings are just right.
You’ll uncover even more tips ahead!
Key Takeaways
- Safely remove the carburetor by disconnecting the fuel line and taking out any bolts or screws needed.
- Find the float assembly inside the carburetor and check it for cracks or dirt.
- Use a carburetor gauge to measure the current float height and see if it needs adjusting.
- Gently bend the float tab to adjust the height, following the manufacturer’s specifications.
- Reinstall the carburetor, making sure everything lines up properly, and then test your engine to see if it runs smoothly and uses fuel efficiently.
Why Adjusting the Carburetor Float Matters
Adjusting the carburetor float matters because it directly impacts your engine’s performance. The float mechanism controls how much fuel enters the carburetor, making sure your engine gets the right mix for smooth operation.
If the float’s height isn’t set correctly, you might run into problems like flooding or fuel starvation. Flooding means too much fuel, which can lower fuel efficiency and cause rough idling.
On the other hand, if the float is too low, it can lead to a lean mixture that causes backfiring or overheating. Getting the float right is key to keeping your engine running smoothly.
Essential Tools and Materials for the Job
To successfully adjust the carburetor float, you’ll need a few essential tools and materials. First, grab a flathead screwdriver and a pair of needle-nose pliers; these will help you access and manipulate the float.
To adjust the carburetor float, gather a flathead screwdriver and needle-nose pliers for effective access and manipulation.
A carburetor gauge is vital for accurate float measurement techniques, allowing you to set the float height precisely. You’ll also want a clean workspace, so have some rags or paper towels handy to catch any spills.
It’s smart to have safety goggles and gloves to protect yourself from fuel and debris. Before you start, familiarize yourself with common float issues, such as sticking or improper height, as these can affect engine performance.
Finally, keep a service manual for your specific carburetor model nearby. It can offer guidance and specifications to guarantee your adjustments are spot on. With the right tools in hand, you’re ready to tackle the job effectively.
Removing the Carburetor From Your Engine
Start by disconnecting the fuel line from the carburetor, making sure to have a rag handy to catch any drips. Next, identify your carburetor type, since different models might have unique attachment points.
Usually, carburetors are held in place with bolts or screws, so grab your tools and carefully remove these fasteners. Once you have the hardware off, gently lift the carburetor away from the engine.
Be careful not to damage any gaskets, as they’re essential for proper engine operation. If your carburetor has linkage, disconnect it too, paying attention to how it’s connected for when you reassemble.
After everything’s detached, inspect the carburetor for any signs of wear or damage before moving on. This step helps ensure a smooth adjustment process later on.
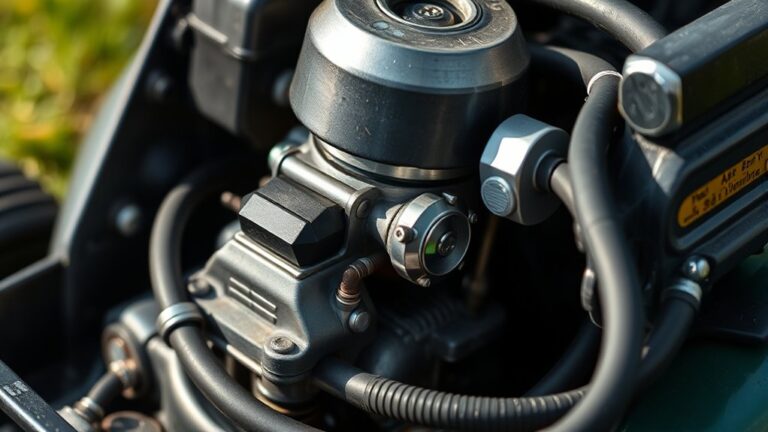
Locating and Checking the Float Assembly
Now that you’ve taken out the carburetor, it’s a good idea to find the float assembly. Take your time to look it over carefully—you’re checking to make sure all the parts are in good shape and working as they should.
This step is pretty important because the float assembly helps control the fuel level in the carburetor. So, giving it a close inspection helps keep your engine running smoothly and efficiently.
Identify Float Assembly Location
While inspecting your carburetor, you’ll want to locate the float assembly since it plays a key role in regulating fuel flow.
The float assembly is usually inside the float chamber, which you can find on the side or top of the carburetor.
Depending on your carburetor model, you might see different float types, like the traditional ball float or a modern plastic float.
Understanding how the float works is important—it helps keep the right fuel level by rising and falling with the fuel in the chamber.
Once you find the float assembly, you’re a step closer to making sure your carburetor runs smoothly.
Take your time to get familiar with where it’s located for easier adjustments.
Inspect Float Assembly Components
To make sure your carburetor works properly, it’s important to inspect the float assembly components. Start by checking these key parts to ensure the float is correctly adjusted.
Look for cracks or damage on the float; it should be buoyant and intact. If it’s damaged, it won’t float properly, which can cause issues.
Next, verify that the float pin moves freely and isn’t worn down. A worn pin can affect how the float moves and impacts fuel regulation.
Check the needle valve for debris or signs of wear. A faulty valve can lead to fuel overflow or poor fuel flow.
Finally, inspect the seat for cleanliness and proper alignment. Any obstruction or misalignment can disrupt fuel flow and cause performance issues.
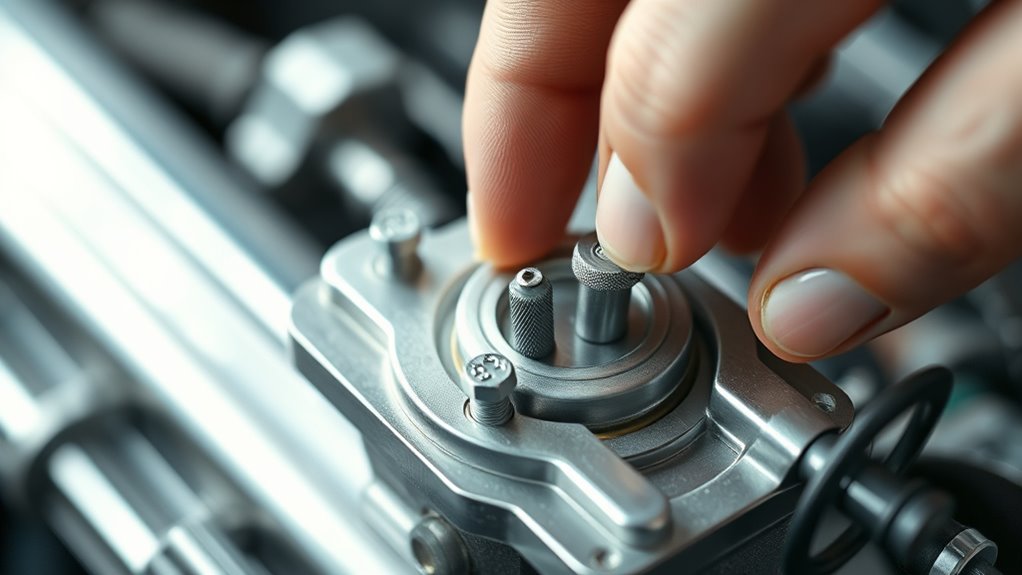
How to Adjust the Float Height for Optimal Performance
Adjusting the float height in your carburetor is key for getting the best performance because it directly impacts fuel delivery and engine efficiency. First, find the float height recommended by your manufacturer.
Use simple float adjustment techniques like gently bending the float tab up or down. Make small changes since even tiny adjustments can have a big impact on how your engine runs.
Next, check for common float problems like sticking or fuel leaks. If the float isn’t moving freely, it can cause incorrect fuel levels, leading to engine flooding or starving.
After adjusting, recheck the height to ensure it’s within the recommended range. Then, test your engine under different conditions to see how it performs.
Paying close attention to the float height can really improve your engine’s overall performance, helping your vehicle run at its best.
Reassemble and Reinstall Your Carburetor
Once you’ve finished adjusting the float height, it’s time to reassemble and reinstall your carburetor. Proper carburetor maintenance ensures your engine runs smoothly, so take your time with these steps.
Start by reattaching the float assembly. Make sure it’s aligned correctly and that it moves freely within the carburetor body.
Next, place new gaskets if needed. This helps prevent leaks that could mess with your engine’s performance.
Using new gaskets is essential to prevent leaks and ensure optimal engine performance.
Then, reconnect the fuel inlet fitting. Tighten it snugly, but be careful not to over-tighten and cause damage.
Finally, reinstall the carburetor onto the intake manifold and secure it with the proper bolts. Double-check that everything is aligned correctly.
During this process, it’s a good idea to double-check the float assembly. Proper reassembly will help your engine perform at its best.
Now you’re ready for the next step in your carburetor maintenance!
Testing Your Engine After Float Adjustment?
How can you make sure your engine runs smoothly after adjusting the carburetor float? Start by doing some simple tests to check engine performance. Listen for any strange sounds, make sure the acceleration feels smooth, and keep an eye on fuel usage.
A float issue can cause poor performance, so it’s important to fix any problems right away. Here’s a quick checklist to guide you:
| Test | What to Look For |
|---|---|
| Idle Performance | RPMs stay steady without stalling |
| Acceleration | It feels smooth and responds well |
| Fuel Leaks | No signs of fuel dripping |
| Engine Temperature | Normal operating range |
Once you’ve done these tests, take your vehicle for a short drive. Pay attention to how it feels. If everything seems fine, you probably nailed the float adjustment. If not, go back and check the float settings or look for other issues.
Frequently Asked Questions
How Often Should I Check My Carburetor Float?
You should check your carburetor float regularly, ideally every few months, especially if you’re using your vehicle often.
Regular maintenance helps prevent issues like flooding or poor performance. During these checks, look for signs of wear or damage and perform float adjustments if needed.
Keeping an eye on it can extend your engine’s life and boost efficiency, so don’t skip this important task!
Can a Faulty Float Affect Fuel Efficiency?
Yes, a faulty float can definitely affect your fuel efficiency. When it malfunctions, it can mess up the fuel mixture, causing too much or too little fuel to enter the engine.
This imbalance can lead to poor combustion, wasting fuel and decreasing performance. You might notice your vehicle running rough or using more gas than usual.
Keeping an eye on the float’s condition is key to getting the most out of your fuel.
What Symptoms Indicate a Float Adjustment Is Needed?
You might notice poor acceleration, stalling, or fuel leaks—signs that your float height needs attention.
As you dig deeper, check for inconsistent fuel delivery and an unusual idle.
These symptoms often signal that a float adjustment is overdue.
Don’t ignore those troubleshooting tips!
By addressing these issues promptly, you can restore efficiency and performance.
This keeps your ride smooth and reliable.
Are There Different Float Types for Various Engines?
Yes, there are different float types for various engines. You’ll find floats made from materials like plastic, metal, or foam, each offering distinct benefits.
Float designs can vary too, which affects how they respond to fuel levels. Choosing the right float type helps ensure your engine performs at its best and uses fuel efficiently.
It’s important to match the float material and design to your specific engine needs for the best results.
Can I Adjust the Float Without Removing the Carburetor?
Yes, you can adjust the float without removing the carburetor, but it’s a bit tricky. You’ll need the right float adjustment tools to reach the necessary components.
Start by checking the carburetor maintenance tips for your specific model since access points can vary. It’s a good idea to make sure the engine is off and cool before you begin.
With patience and a steady hand, you can get the float level just right without doing a full disassembly.
Conclusion
Adjusting your carburetor float can significantly boost your engine’s performance and even improve fuel efficiency by up to 10%. Once you’ve gone through the steps to adjust the float, you’ll likely notice smoother acceleration and overall better operation.
Be sure to check your carburetor regularly. It’s a small task that can save you a lot on fuel costs in the long run. Keeping your carburetor properly adjusted helps your engine run at its best and makes every ride more enjoyable.