DIY Guide to Make a Battery Charger at Home
Are you tired of constantly replacing batteries or struggling to find the right charger? You’re not alone—many people find it challenging to keep their gadgets powered up efficiently.
Luckily, making a battery charger at home is easier than you might think, especially with a DIY battery charger guide.
You can easily make a battery charger at home by understanding the different battery types and their charging needs. Gather essential tools like a soldering iron, multimeter, and diodes.
Follow a clear step-by-step guide to connect your power source and battery securely. Always prioritize safety with proper gear and workspace.
Test your charger for efficiency and monitor for overheating.
Want to improve your project’s success? There’s more to investigate about optimizing your DIY battery charger.
Key Takeaways
- Understand the specific battery type and its charging requirements to make sure your charger works properly.
- Gather essential materials like diodes, resistors, and a reliable power source to build your charger.
- Follow safety precautions, such as wearing protective gear and working in a well-ventilated area.
- Use a multimeter to test the charger’s voltage output and keep an eye out for overheating while it’s running.
- Practice eco-friendly habits by recycling old batteries and choosing high-quality rechargeable options to reduce waste.
What You Need to Know About Battery Types and Charging?
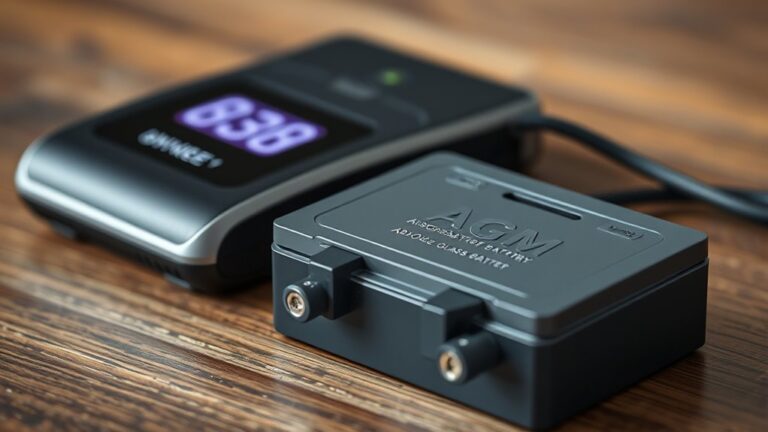
When you’re diving into DIY battery chargers, it’s important to understand the different battery types and their charging needs. Each chemistry—like lithium-ion, lead-acid, or nickel-metal hydride—has specific characteristics that influence how you should charge it.
Understanding battery types and their unique charging needs is crucial for effective DIY battery chargers.
For example, lithium-ion batteries need precise voltage and current controls to prevent overheating or damage. Lead-acid batteries, on the other hand, require a slower charging process to help them last longer.
You also need to think about charging cycles, which are the process of charging and discharging the battery. Different batteries have different cycle lives, which affects how often you can recharge them effectively.
Misunderstanding these factors can lead to inefficient charging or even damaging the battery. So, make sure you learn the specific requirements of the battery types you’re working with.
This way, your DIY charger will work safely and effectively, giving you the best performance from your batteries.
Must-Have Tools and Materials for Your DIY Battery Charger
Understanding the specific requirements of your batteries helps you gather the right tools and materials for your DIY battery charger. Before you start, make sure you have everything you need and keep safety in mind to protect yourself and extend your batteries’ lifespan.
Here’s a quick list to get you started:
- Soldering iron: Essential for making secure wire connections.
- Multimeter: Necessary for measuring voltage and ensuring correct connections.
- Diodes: Help prevent backflow of current and protect your charger.
- Heat shrink tubing: Provides insulation for your connections.
- Wire cutters and strippers: Needed for preparing your wires.
With these tools and materials ready, you’ll be well-prepared to work efficiently and safely. Remember, prioritizing safety not only protects you but also helps your batteries last longer!
Step-by-Step Guide to Building Your Battery Charger
Now that you’ve got all your tools and materials ready, it’s time to start building your battery charger. Don’t worry, we’ll take it step by step to make sure everything makes sense along the way. The key is to focus on the main components and get a good grasp of how the wiring and connections work.
Let’s walk through the process together, so you can build your charger with confidence and avoid any hiccups. Ready? Let’s dive in!
Essential Materials Needed
To build your DIY battery charger, you’ll need a few basic materials that are easy to find. Make sure you pick components that match the battery types you want to charge for safe and effective charging.
Here’s a quick list of what you’ll need:
- Power source (like an AC adapter)
- Diodes (to control the current)
- Resistors (to prevent overloads)
- Capacitors (for stability)
- Wire (to connect everything)
Having these materials ready will help you get started smoothly. Remember, understanding your battery’s specifications is really important.
Prioritize safety when charging to avoid any accidents while you work on creating your own battery charger!
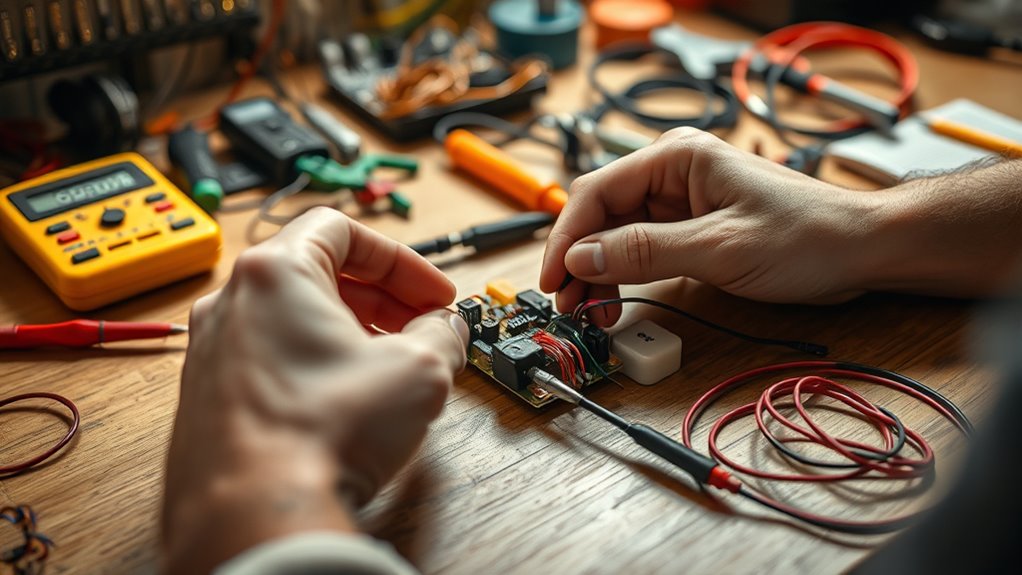
Wiring and Connections Guide
With your materials ready, it’s time to work on the wiring and connections for your DIY battery charger. Start by looking at your wiring diagrams to guide you.
First, connect the positive terminal of your power source to the positive terminal of the battery. Use appropriate connection types like alligator clips or soldered wires for a secure connection.
Next, attach the negative terminal of the power source to the charger circuit. Make sure all your connections are tight and secure to avoid any short circuits.
Double-check your wiring against your diagrams to make sure everything lines up correctly. If you’re using a switch, wire it in line with the positive connection for easy control.
Once everything is connected properly, you’re all set to test your charger!
How to Stay Safe While Working With Batteries
When you’re working with batteries, it’s really important to wear protective gear like gloves and safety goggles. Trust me, it can make a big difference in keeping you safe. Always handle batteries carefully—avoid spills or leaks because they can cause serious injuries if you’re not careful.
Staying safe while working with batteries just makes the whole DIY experience more enjoyable and stress-free. So, take those extra precautions, and you’ll be able to focus on your project without any unnecessary worries.
Wear Protective Gear
Although working with batteries can be a rewarding DIY project, it’s really important to prioritize safety by wearing protective gear. Using the right equipment not only helps you avoid accidents but also keeps the battery safe.
Here’s what you should wear: Safety goggles to protect your eyes from splashes. Rubber gloves to prevent electric shocks and chemical exposure. A face mask to avoid inhaling harmful fumes. Long sleeves and pants to shield your skin from potential spills. And closed-toe shoes to protect your feet from heavy objects.
Taking these precautions will create a safer working environment as you work on your battery charger project. Remember, being prepared is key to enjoying your DIY project without unnecessary risks!
Handle Batteries Carefully
After you’ve put on your protective gear, it’s time to focus on handling batteries safely. Always work in a well-ventilated area and keep flammable materials away.
When connecting or disconnecting batteries, follow the proper charging protocols to avoid sparks or short circuits. Handle batteries gently; dropping or jarring them can cause leaks or ruptures.
If you notice any swelling, leaking, or unusual odors, stop using the battery immediately and dispose of it correctly. Always use the right charger for your battery type to ensure safety.
Finally, keep batteries out of reach of children and pets to prevent accidents. Stay cautious, and your DIY project will go smoothly!
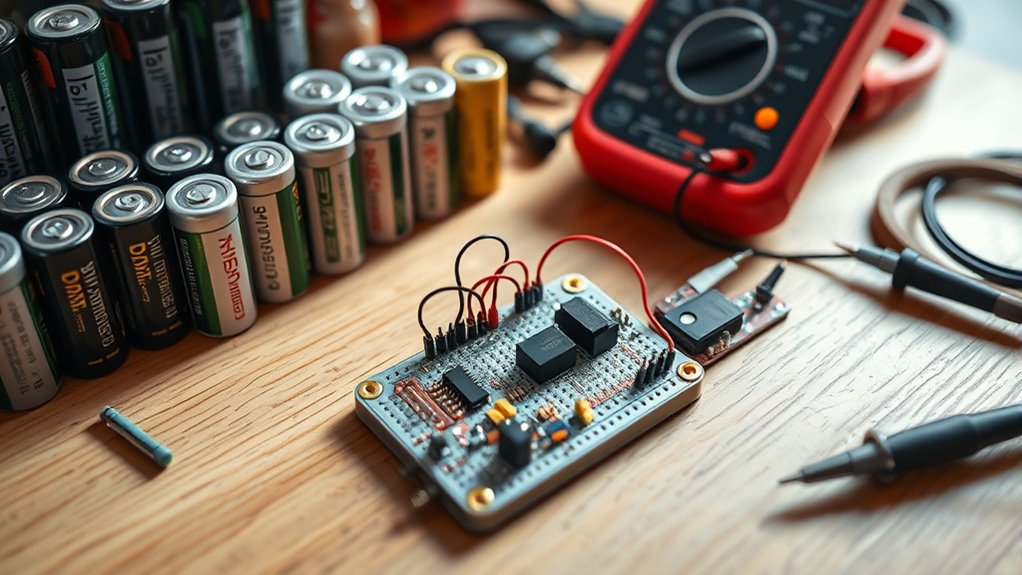
Testing Your DIY Battery Charger
Before you plug in your DIY battery charger, it’s important to make sure everything’s working properly. This step helps keep things safe and makes sure your battery charges efficiently.
Start by inspecting all the connections. Confirm that all wires are secure and tight. Next, use a multimeter to measure the voltage output and ensure it matches your battery’s needs.
It’s also a good idea to do a load test. Attach a dummy load to see how the charger handles stress and monitor its performance.
While testing, keep an eye on the temperature. Feel for any excessive heat, which could indicate a problem.
Finally, check the charge time. Track how long it takes to charge a battery and see if it aligns with what you expect.
Troubleshooting Common Issues With Your Charger
Having trouble with your DIY battery charger? No worries! Sometimes you might notice it’s not giving any power, gets pretty hot, or the charging isn’t steady. These issues are pretty common, and luckily, they’re usually pretty easy to sort out with a bit of troubleshooting. Let’s walk through some simple steps to help you figure out what’s going on and get your charger back in action.
No Power Output
If your DIY battery charger isn’t producing any power, don’t panic; troubleshooting is often straightforward. Start with some basic checks to confirm everything’s set up correctly. Proper battery maintenance is essential, so look for the following:
- Check connections: Make sure all wires and terminals are securely attached.
- Inspect components: Look for damaged parts like diodes or resistors.
- Test voltage: Use a multimeter to see if your charger is outputting voltage.
- Review circuit design: Ensure your design matches your battery’s charging requirements.
- Verify power source: Confirm your power supply is working and providing the necessary voltage.
Overheating Issues
Overheating can be a major issue with DIY battery chargers and might indicate deeper problems in your setup. Knowing what causes overheating and how to prevent it is key to staying safe and keeping your charger working well.
| Overheating Causes | Prevention Methods |
|---|---|
| Poor ventilation | Make sure there’s enough airflow |
| Overloaded circuits | Use the right components |
| Faulty connections | Check your wiring regularly |
If your charger gets hot, take a moment to check these factors. Providing proper ventilation and choosing components rated for your battery’s voltage and current can help prevent overheating. Regular inspections will catch issues early before they become serious.
Prioritizing safety keeps your charger reliable and your batteries in good shape. Taking these steps will help you avoid overheating problems and maintain a safe, efficient setup.
Inconsistent Charging Behavior
- Loose connections: Make sure all wires are securely connected. Loose wires can cause charging issues.
- Faulty components: Check for damaged parts like resistors or diodes. Damaged components can disrupt charging.
- Overheating: Excessive heat can interfere with charging. Let your charger cool down if it gets too hot.
- Incompatible batteries: Ensure your charger matches the battery’s specifications. Using the wrong type can cause problems.
- Insufficient power supply: Make sure your power source provides enough voltage. A weak power supply can prevent proper charging.
DIY Battery Charger Efficiency Tips
To maximize the efficiency of your DIY battery charger, it’s important to pay attention to key factors that influence performance. Start by choosing the right charging techniques. Using a constant current or constant voltage method can really boost energy efficiency.
You want a smooth charging curve, which helps prevent overheating and extends battery life. Next, make sure your components are rated for the right voltage and current levels. Mismatched parts can cause energy loss.
Also, consider adding a heat sink to dissipate excess heat. This can improve both the longevity and efficiency of your charger. Regularly monitor the charging process so you can make adjustments if needed.
Finally, keep your connections clean and secure to reduce resistance. Following these tips will help you build a more effective and energy-efficient battery charger at home.
Alternative Designs for DIY Battery Chargers
While exploring alternative designs for DIY battery chargers, you’ll find that creativity can lead to impressive results. Here are some innovative options to consider:
Exploring creative DIY battery charger designs can lead to impressive and innovative results tailored to your needs.
- Solar Chargers: Use the sun’s energy to power your batteries in an eco-friendly way.
- Portable Designs: Make compact chargers that are easy to carry around for convenience.
- Wireless Charging: Try induction methods for a cable-free charging experience.
- Multi Device Compatibility: Build chargers that can handle multiple devices at once.
- Emergency Chargers: Create backup solutions to quickly power your devices when needed.
You can also add features like adjustable voltage for different battery types or develop rapid charging systems to save time. These ideas will help you improve your DIY skills and give you reliable power solutions tailored to your needs.
Eco-Friendly Battery Use and Disposal
As you adopt eco-friendly practices in your DIY battery projects, it’s important to understand responsible battery use and disposal. Using batteries wisely helps conserve energy and supports sustainable initiatives.
Here’s how you can make a difference:
| Action | Benefit | Tip |
|---|---|---|
| Charge Wisely | Extends battery life | Avoid overcharging |
| Use Rechargeables | Reduces waste | Invest in high-quality types |
| Recycle Old Batteries | Prevents environmental harm | Find a recycling center |
Maintaining Your Battery Charger for Longevity
Maintaining your battery charger is key to making it last longer and work better. A little extra care can really extend its lifespan and make battery upkeep easier.
Keep it clean by wiping off dust and debris regularly, so connections stay clear. Avoid exposing your charger to extreme heat or cold—store it in a stable place.
Don’t leave your battery plugged in too long; unplug once it’s full to prevent overheating and damage. Check your charger often for frayed wires or loose connections and replace parts if needed.
Always use the right charger for your battery type. Matching them correctly helps avoid compatibility issues and keeps everything running smoothly.
Frequently Asked Questions
Can I Charge Any Battery Type With This Charger?
You can’t charge just any battery type with this charger. Battery compatibility is essential; different batteries need specific voltages and charging methods.
Using the wrong charger can damage the battery or shorten its lifespan. Be sure to check the specifications of your batteries to see if they match the charger’s output.
This helps you get the most efficiency from the charger and keeps your batteries in good shape. It also ensures safe and effective charging every time.
How Long Will My DIY Charger Last?
Your DIY charger could last as long as a well-tended garden, but its lifespan depends on several factors. If you build it right, paying attention to efficiency and using quality materials, you’ll get years of reliable use.
On the other hand, rushing the process might make it fade away quickly, like a flower in the sun. Keep in mind, how well your charger works directly affects your battery’s life.
What Is the Cost of Making a DIY Charger?
The cost of making a DIY charger usually falls between $20 and $50, depending on what you choose.
Start by breaking down the costs: basic parts like resistors and capacitors can be bought from local electronics stores or online.
If you’re recycling parts from old devices, you might save even more money.
Always compare prices from different sources to find the best deal and keep your project within budget.
Can I Use Solar Power for My DIY Charger?
Yes, you can definitely use solar power for your DIY charger! Choosing the right solar panel types, like monocrystalline or polycrystalline, helps you get the most out of your setup.
Monocrystalline panels usually offer better efficiency in smaller spaces, while polycrystalline panels tend to be more budget-friendly. Just make sure your solar setup matches your battery specifications for the best results.
With some careful planning, you’ll be able to harness solar energy effectively for your charging needs!
Are There Any Legal Restrictions on Homemade Chargers?
While the world of homemade chargers can seem like a wild frontier, you’ve got to tread carefully.
There are legal restrictions that vary by location, often focusing on safety precautions and charger specifications.
Always check local regulations before diving in. Ignoring these laws can lead you down a risky path.
Conclusion
So, you’ve built your own battery charger—congratulations! Ironically, while you’ve mastered the art of charging batteries, you might soon find yourself charging your own creativity instead. Who knew such a simple project could ignite endless ideas?
Just remember, with great power comes great responsibility. Keep experimenting, but stay mindful of safety. The last thing you want is to turn your DIY project into a shocking experience.
Happy charging! And enjoy the satisfaction of making your own battery charger at home.