Step-by-Step Guide to Rebuild Your Husqvarna Trimmer Carburetor
Are you tired of your Husqvarna trimmer struggling to start or running rough? You’re not alone—many people face issues with carburetors that affect engine performance.
Luckily, with a little know-how, you can rebuild your carburetor and get your trimmer running smoothly again.
To rebuild your Husqvarna trimmer carburetor, start by understanding its function in mixing air and fuel for peak engine performance.
Next, identify common issues like hard starting or rough idling. Gather necessary tools and parts, then disassemble the carburetor carefully, documenting the process.
Clean all components thoroughly and reassemble them with new gaskets. Adjust the settings for idle and mixture before testing the trimmer.
Stick around to uncover essential maintenance tips for long-lasting performance.
Key Takeaways
- Understand how the carburetor works so you can get the right air-fuel mix. This helps your engine run smoothly during maintenance.
- Look out for problems like trouble starting or rough idling. Check your spark plugs for signs of proper combustion.
- Gather all necessary tools and a carburetor kit. Make sure it includes gaskets, jets, and cleaning supplies for an efficient rebuild.
- Carefully take apart and clean each carburetor part. It’s helpful to note how everything fits together for easier reassembly.
- Put everything back together, then adjust the idle and mixture screws. Finally, do test runs to make sure your trimmer runs smoothly.
Understanding Your Husqvarna Trimmer Carburetor
Your Husqvarna trimmer carburetor is crucial for mixing air and fuel to keep your engine running smoothly. Knowing how it works helps you maintain your trimmer better.
The carburetor adjusts the fuel mixture that goes into the engine, making sure it gets the right amount of air and fuel for combustion. When it works properly, your trimmer runs efficiently, with good power and smooth operation.
The carburetor fine-tunes the air-fuel mix, ensuring your trimmer runs efficiently with optimal power and smooth operation.
When you pull the starter cord, the engine pulls air through the carburetor, mixing it with fuel from the tank. Getting this mixture right is important—too much fuel can cause flooding, while too little can make the engine stall.
Regularly checking your carburetor ensures it performs well, so your trimmer can handle any job with ease. Understanding these functions helps you keep your equipment in top shape and extend its lifespan.
Identifying Carburetor Issues Before Rebuilding
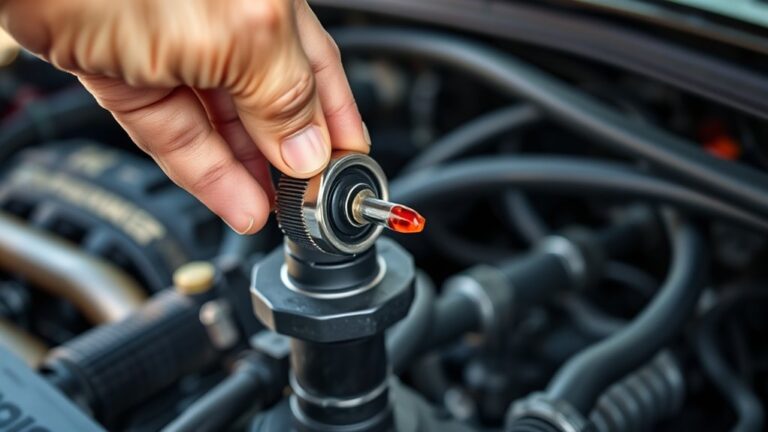
Before rebuilding your Husqvarna trimmer carburetor, it’s a good idea to spot any issues that might be affecting performance. Look for common symptoms like difficulty starting or rough idling. These usually point to fuel problems, such as clogged jets or stale fuel.
Next, check for air leaks around the carburetor and intake manifold. These leaks can cause performance drops by letting in too much air into the fuel mix. Don’t forget to inspect the spark plug; a blackened or damaged plug could mean improper fuel combustion, which hints at carburetor issues.
Use these troubleshooting tips to help narrow down the problem before you start rebuilding. Finding these issues early can save you time and frustration, making sure your trimmer runs smoothly once you’ve finished the rebuild.
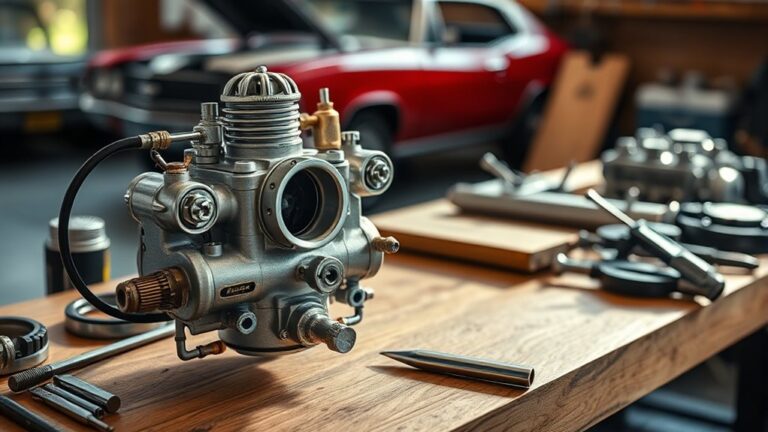
Necessary Tools and Parts for Carburetor Rebuild
Gathering the right tools and parts is key for a successful carburetor rebuild on your Husqvarna trimmer. Different carburetor types might need specific components, so make sure you have everything before you start.
Here’s a quick list to help you get organized:
- Carburetor Kit: This usually includes gaskets, diaphragms, and jets designed for your specific model.
- Screwdrivers and Wrenches: A set of precision screwdrivers and wrenches will make disassembly and reassembly easier.
- Fuel Mixture: Having the correct fuel mixture ready is essential for testing after the rebuild.
With these tools and parts in hand, you’ll be ready to tackle the rebuild confidently. Remember, a well-maintained carburetor ensures top performance, so don’t skip this crucial step!
Step 1: Disassemble the Carburetor
Before you dive into taking apart your carburetor, it’s a good idea to gather up all the tools you’ll need and keep safety in mind. Having everything on hand makes the process smoother and helps prevent any accidents.
Knowing the step-by-step process for disassembly is super helpful—it keeps you from making mistakes and makes the job a lot easier. So, let’s get started on breaking it down!
Essential Tools Needed
To successfully disassemble your Husqvarna trimmer carburetor, you’ll need a few essential tools at your side. Having the right equipment makes the process easier and helps you troubleshoot common fuel mixture issues.
Here’s what you should gather:
- Screwdriver Set: A flathead and Phillips screwdriver will help you remove screws without damaging them.
- Wrench Set: Various sizes will ensure you can loosen and tighten any bolts securely.
- Cleaning Brush: This is vital for maintaining your carburetor’s efficiency and addressing fuel mixture problems.
Keep these tools handy, and you’ll be well-equipped for your maintenance schedule and any future repairs!
Safety Precautions First
With your tools ready, it’s time to prioritize safety before starting to disassemble the carburetor. First, put on your safety gear, including goggles and gloves, to protect yourself from any potential hazards.
Make sure your work area is clean and well-lit so you can see what you’re doing easily. Remove any flammable materials nearby since you’ll be working with gasoline.
If you’re using power tools, double-check that they’re in good condition and follow the manufacturer’s guidelines. These precautions help keep you safe and prevent damage to the trimmer components.
Step-by-Step Disassembly Process
Disassembling the carburetor is a crucial step when rebuilding your Husqvarna trimmer. First, gather all your tools so you’re ready to go.
Start by removing the air filter. This gives you better access to the carburetor and keeps debris from falling inside.
Next, detach the carburetor by loosening the screws holding it in place. Be careful not to strip the screws as you work.
It’s also helpful to note the type of carburetor you’re working with. Knowing this helps you identify the correct parts and makes reassembly easier.
As you take things apart, take pictures or make notes. Keeping everything organized will save you time and frustration later on.
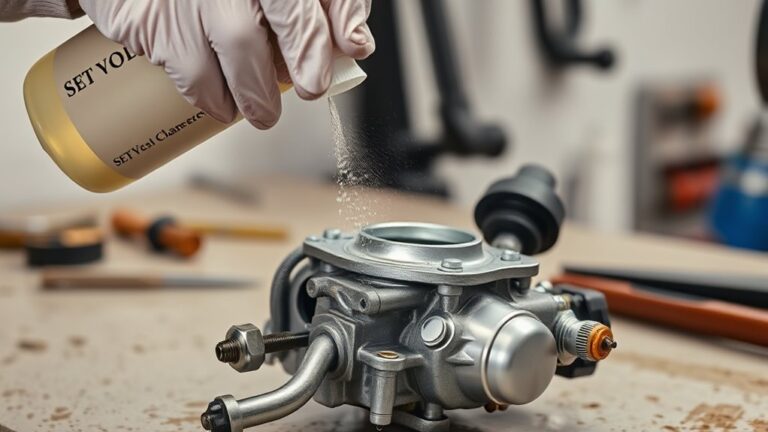
Step 2: Clean Carburetor Components Thoroughly
Cleaning the carburetor components is key to making sure your Husqvarna trimmer runs smoothly. Start by gathering your tools and some common cleaning solvents like carburetor cleaner, isopropyl alcohol, or even simple soap and water. These will help remove dirt and debris effectively.
Use carburetor cleaning techniques such as soaking parts in the solvent for a few minutes to loosen stubborn grime. A soft brush can help scrub intricate areas, especially around jets and passages. Rinse everything thoroughly with clean water to remove any residue and dry the components completely to prevent rust.
Pay special attention to the needle and seat, as any blockage here can cause performance issues. Once everything’s clean, you’re ready to move on to the next step in your rebuild. A clean carburetor is crucial for a reliable trimmer, so take your time with this process.
Step 3: Replace Gaskets and Diaphragms
After making sure all components are clean, it’s time to replace the gaskets and diaphragms. This step is crucial for keeping your Husqvarna trimmer running smoothly. You’ll find different gasket types, so pick the right ones for your model.
These usually include paper, rubber, or composite options, each designed for specific purposes. Pay attention to the diaphragm materials, which can be rubber or plastic. Using high-quality materials will help your trimmer work better.
Different gasket types, like paper, rubber, or composite, serve specific functions. Opt for high-quality materials to enhance your trimmer’s performance.
Here’s what you need to do:
- Choose the correct gasket types based on your model’s specs.
- Check the old diaphragms for signs of wear before replacing them.
- Carefully install the new gaskets and diaphragms, making sure they fit tightly to prevent leaks.
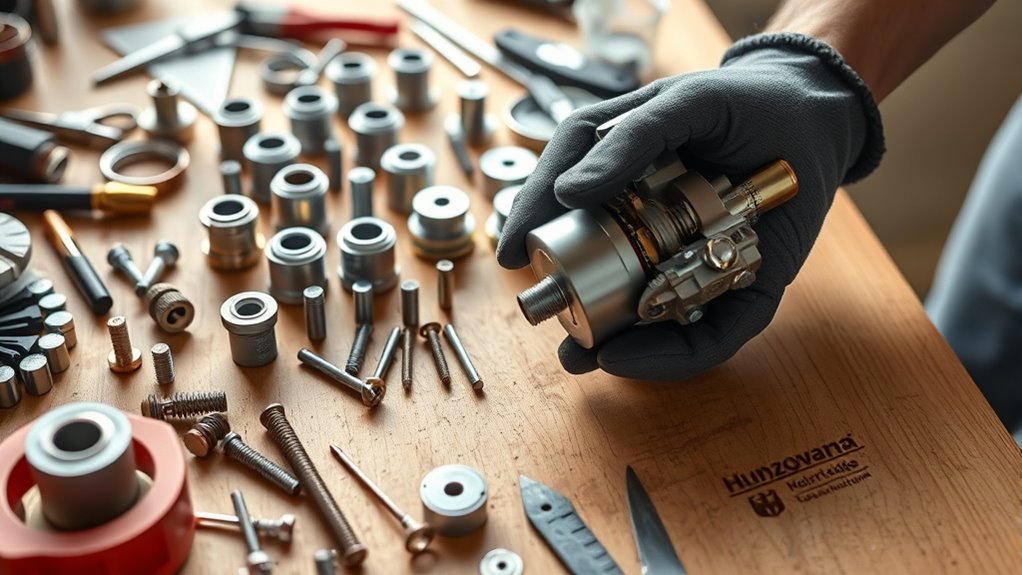
Step 4: Properly Reassemble the Carburetor
Now that you’ve replaced the gaskets and diaphragms, it’s time to properly reassemble the carburetor. Start by making sure all parts are clean and free of debris.
Carefully align the carburetor components, paying close attention to the sealing techniques you used earlier. Proper alignment is key to ensuring your trimmer runs smoothly.
Follow these steps:
| Step | Action |
|---|---|
| 1. Insert Diaphragm | Place it over the chamber. |
| 2. Attach Gaskets | Make sure they fit snugly. |
| 3. Fasten Screws | Tighten them in a crisscross pattern. |
| 4. Check Alignment | Verify all parts are aligned correctly. |
| 5. Inspect Seals | Ensure there are no gaps. |
Once everything is in place, double-check your work. A well-reassembled carburetor guarantees your trimmer runs smoothly.
Take your time and be meticulous. Proper reassembly is essential for peak performance.
Step 5: Adjust Carburetor Settings After Rebuild
With the carburetor reassembled, your next step is to adjust the settings for the best performance. Proper tuning ensures your trimmer runs smoothly and efficiently by optimizing the fuel mixture.
Start by adjusting the idle screw. Aim for a smooth, stable idle without stalling. Once that’s set, move on to the low-speed mixture screw.
Turn the low-speed screw slowly until you find the sweet spot where the engine runs cleanly without hesitation. Then, adjust the high-speed mixture screw.
You want the engine to rev freely without sputtering or losing power. After making these adjustments, take your trimmer for a test run.
Watch how it runs and listen carefully. Fine-tuning might be needed to get peak performance.
How to Test Your Trimmer Post-Rebuild?
Now that you’ve rebuilt your trimmer’s carburetor, it’s a good idea to check that everything’s working properly before you get back to trimming. Start with a quick visual inspection—look for any loose parts, leaks, or anything that might seem out of place. It’s a simple step that can save you a lot of trouble down the line.
Once you’ve given it the once-over, it’s time to test how it performs. Fire up your trimmer and see how it runs. Listen for any unusual sounds, and pay attention to how smoothly it idles and accelerates. This is your chance to make sure all your hard work has paid off and that your trimmer is ready to go without any hiccups.
Visual Inspection Process
Once you’ve rebuilt your Husqvarna trimmer’s carburetor, it’s important to do a thorough visual check to make sure everything looks right. This step helps you spot common issues that could affect how well your trimmer runs.
Here’s what you should look for:
- Fuel Lines: Make sure there are no cracks or leaks. Damaged fuel lines can cause fuel to escape and affect performance.
- Gaskets and Seals: Check for any signs of wear or if they’re misaligned. A faulty seal can lead to air leaks, which can make starting or running the engine tricky.
- Connections: Ensure all connections are tight and secure. Loose parts can cause operational problems and reduce efficiency.
Performance Testing Techniques
Testing your trimmer after a carburetor rebuild is key to making sure it runs smoothly. Start by checking the fuel mixture. Getting the right blend helps the engine run efficiently.
Next, adjust the idle to prevent stalling. Make sure the throttle response is quick and responsive for better performance. Monitor how it reacts when you press the throttle—you want it to respond immediately.
Use these troubleshooting tips to find and fix any lingering issues. Once you’re done, your trimmer should work like new, so you can get your yard work done with confidence.
Essential Maintenance Tips After Rebuilding Your Carburetor
After rebuilding your Husqvarna trimmer carburetor, it’s important to follow some simple maintenance tips to keep it running smoothly. Regular upkeep not only extends your trimmer’s lifespan but also boosts its performance.
First, make sure to check and adjust your carburetor’s tuning regularly. This helps keep the fuel-air mixture just right, so your engine runs efficiently.
Regularly checking and adjusting your carburetor’s tuning ensures the fuel-air mixture is optimal for efficient engine performance.
Next, always use a fuel stabilizer if you’re planning to store your trimmer for a while. It prevents fuel from degrading and keeps the carburetor clean.
Finally, don’t forget to clean the air filter and carburetor parts periodically. Dirt buildup can block airflow and affect how well your trimmer works.
Frequently Asked Questions
How Often Should I Rebuild My Trimmer Carburetor?
You should rebuild your trimmer carburetor every one to two years, depending on how often you use it. Regular maintenance is essential to keep your trimmer running smoothly.
If you tend to use low-quality fuel, consider checking the carburetor more often. Poor fuel can cause buildup and lead to performance problems.
Watch for signs like difficulty starting or uneven running—that’s a good indication it might be time for a rebuild. Keeping an eye on fuel quality and performance helps extend the life of your carburetor.
Can I Use Aftermarket Parts for the Rebuild?
Yes, you can use aftermarket parts for the rebuild, but keep in mind that the quality of these parts can vary. Some might fit perfectly, while others could cause compatibility issues.
It’s really important to do your research and make sure the aftermarket components you pick are reliable and compatible with your Husqvarna trimmer.
Always check reviews or talk to experts to avoid problems that could affect how well your trimmer performs or how long it lasts.
What Symptoms Indicate a Need for Rebuild?
Ever wonder why your trimmer’s performance feels off? If you notice poor acceleration, stalling, or uneven idling, it’s time to consider a rebuild.
These symptoms often point to issues with the carburetor affecting the fuel mixture. You might also see excessive fuel consumption or difficulty starting.
If these signs pop up, don’t ignore them. Your trimmer’s carburetor is likely struggling to deliver the performance you need.
Is Professional Help Necessary for Carburetor Rebuilding?
No, professional help isn’t always necessary for carburetor rebuilding. If you have the right tools and some basic mechanical skills, you can probably do it yourself.
But if you’re unsure about maintenance or feel overwhelmed, getting expert help can save you time and frustration. It really depends on your comfort level and experience with similar tasks.
Trust your instincts and decide what works best for you!
How Can I Prevent Future Carburetor Issues?
To prevent future carburetor issues, you’ll want to treat your trimmer like royalty.
Regular carburetor maintenance tips include cleaning filters and ensuring proper air intake.
Fuel quality is essential—think of it as your trimmer’s gourmet meal! Use fresh, high-quality fuel to avoid gunk buildup.
And remember, neglecting these steps is like inviting trouble to your backyard barbecue. So, keep your carburetor happy, and it’ll return the favor with reliable performance!
Conclusion
Congratulations, you’ve just turned your Husqvarna trimmer’s carburetor from a reluctant diva into a well-oiled machine! Who knew that a bit of disassembly and cleaning could make such a huge difference?
Now that you’ve mastered rebuilding the carburetor, you’ll impress your friends with your mechanical skills. Because nothing says “party animal” like a perfectly tuned Husqvarna trimmer.
So grab your trimmer and get ready to conquer the wild, one weed at a time!