7 Steps to Charge Your Motorcycle Battery With a Charger
Many motorcycle owners know the frustration of a dead or weak battery, especially when you’re eager to hit the road. You’re not alone—keeping your motorcycle battery charged and in good shape can sometimes feel tricky.
Luckily, with the right tools and a bit of know-how, you can easily maintain your battery’s health.
To charge your motorcycle battery, start by gathering your tools and safety gear, like safety goggles and a multimeter. Prepare the battery by checking for damage and corrosion, then choose the right charger.
Connect the charger by first attaching the positive lead, followed by the negative. Monitor the charging process to prevent overcharging.
Once done, safely disconnect the charger by removing the negative lead first.
You’ll want to check the battery’s health afterward for peak performance. Uncover more tips to keep your battery in top shape!
Key Takeaways
- Ensure a safe workspace by wearing safety goggles and gloves while charging the battery to protect against fumes and electrical issues. This keeps you safe during the process.
- Disconnect the battery from the motorcycle and inspect it for any damage, corrosion, or leaks before you start charging. It’s always good to check for issues first.
- Connect the charger by attaching the positive lead first, then the negative lead. Make sure all connections are secure and correct before turning on the charger.
- Monitor the charging process and check the battery voltage regularly. You want to avoid overcharging; a fully charged battery should read around 12.6 volts or higher.
- After charging, disconnect the charger by removing the negative lead first, then the positive lead. Finally, inspect the terminals for corrosion or damage before reinstalling the battery.
Gather Your Tools and Safety Gear
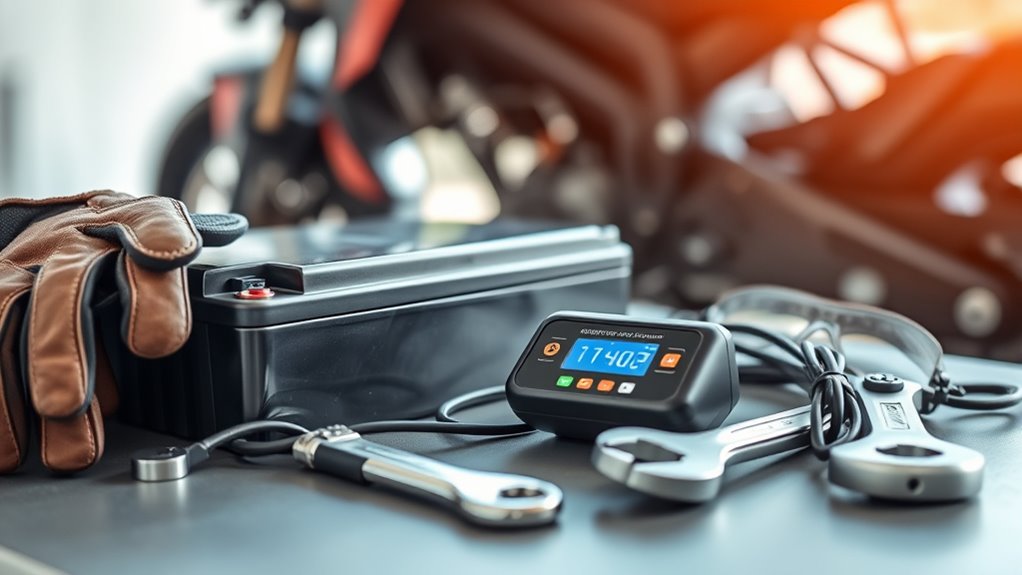
Before you start charging your motorcycle battery, gather the essential tools and safety gear. You’ll want a quality battery charger that’s suitable for your battery type. Safety goggles and gloves are a must to protect yourself during the process. These items are key for proper battery maintenance.
Keep a multimeter nearby to check the battery’s voltage and condition before you begin charging. A clean cloth can help you wipe away any corrosion from the terminals, ensuring a good connection.
Having a socket wrench set is also helpful for securing connections and making adjustments. Make sure your workspace is well-lit and free from clutter so you can focus on the task. Following these tips will make charging safer and easier.
With the right tools and gear ready, you’ll be set to handle the charging process efficiently.
Prepare the Battery for Charging
Before you begin charging your battery, it’s really important to make sure everything is safe. Take a quick look at the battery itself—see if there are any signs of wear, cracks, or damage. It’s always better to be cautious and catch any issues early.
Also, make sure the area around you is well-ventilated. Good airflow helps prevent any buildup of fumes or heat, which can be dangerous. Doing these simple checks will help ensure that your charging process goes smoothly and safely.
Safety First Considerations
When you’re ready to charge your motorcycle battery, safety should always come first. Start by wearing safety glasses and gloves to protect yourself from acid spills or sparks.
Make sure you’re in a well-ventilated area to avoid gas buildup. Disconnect the battery from the motorcycle to prevent any electrical issues.
Before charging, inspect the battery for leaks or corrosion to ensure it’s in good shape. Also, follow the recommended charging frequency to avoid overcharging, which can damage your battery.
| Safety Tips | Actions to Take |
|---|---|
| Wear safety glasses | Protect your eyes |
| Use gloves | Prevent skin contact |
| Ventilate the area | Avoid gas accumulation |
| Disconnect battery | Prevent electrical issues |
| Inspect battery | Check for leaks or corrosion |
Battery Inspection Steps
Inspecting your motorcycle battery is key to ensuring a safe and effective charging process. Different battery types, like lead-acid and lithium, need specific attention, so follow these maintenance tips:
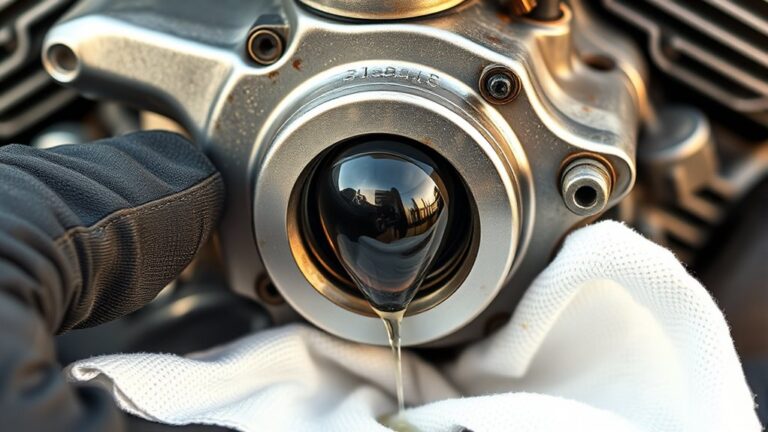
- Check for Corrosion: Look for white or greenish deposits around the terminals. Clean them if needed.
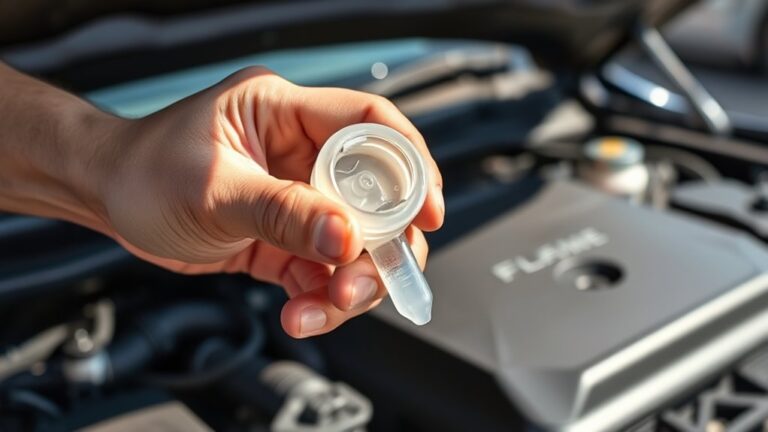
- Inspect Fluid Levels: For lead-acid batteries, make sure the electrolyte is at the right level. Add distilled water if necessary.
- Examine the Case: Look for cracks or bulges in the battery casing, which could mean it’s about to fail.
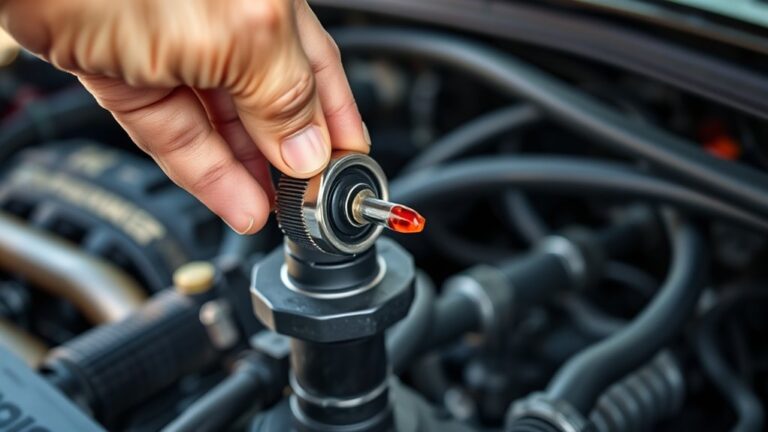
- Test Voltage: Use a multimeter to check the voltage. If it’s below 12.4 volts, your battery probably needs charging.
Choosing the Right Charger
Next, think about the charging methods you prefer. If you want a quick charge, a standard charger might suit you best. But if you’re aiming for long-term maintenance, a trickle charger can keep your battery topped off without risking damage.
It’s also important to check that the charger works with your battery type, whether it’s lead-acid or lithium-ion. Investing in a quality charger designed for your motorcycle will improve battery performance and last longer, so you’re always ready to ride.
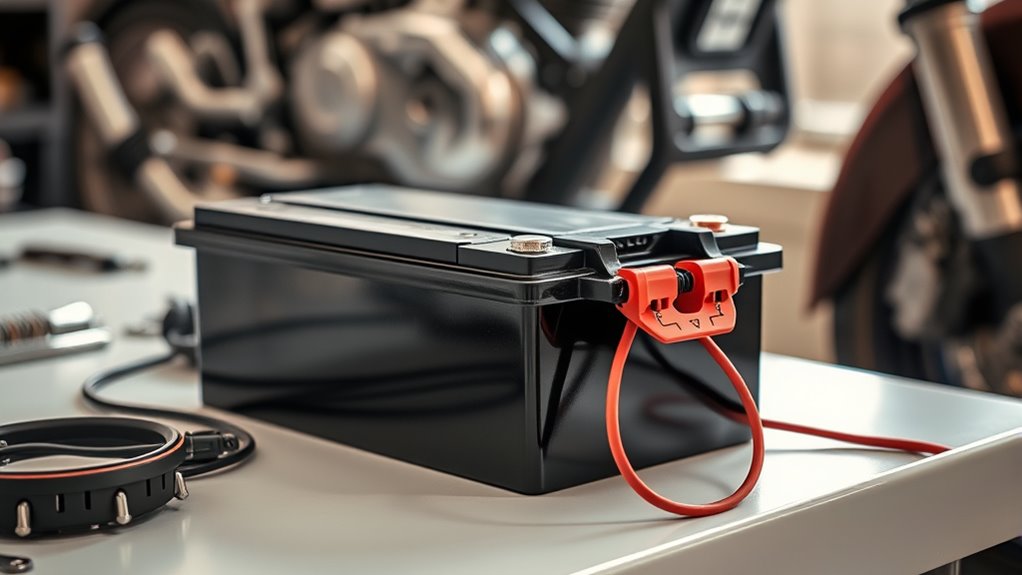
Connecting Your Charger Correctly
- Turn off the motorcycle: Always make sure your bike is powered down before connecting the charger. This helps prevent any electrical mishaps.
- Identify the terminals: Find the positive (+) and negative (-) terminals on your battery. Knowing this helps you avoid reverse polarity issues.
- Connect the charger: Attach the positive lead from the charger to the positive terminal first. Then, connect the negative lead to the negative terminal. Doing this in order helps prevent sparks.
- Check connections: Make sure all connections are secure. Also, double-check that the charger is set to the correct mode for your battery type.
Monitoring Your Charging Process
Once you’ve plugged in your charger, it’s a good idea to keep an eye on how the charging is going. Checking the voltage now and then helps make sure everything stays within the safe and optimal range.
And don’t forget to pay attention to how long the battery has been charging. Overdoing it can lead to overcharging, which might damage your battery in the long run. So, staying mindful of both the voltage and the charging time is key to keeping your device healthy.
Check Voltage Regularly
Monitoring your motorcycle battery’s voltage is key to keeping it in good shape. Regular checks help maintain performance and prevent surprises. Here’s how to do it effectively:
- Use a Multimeter: Measure the voltage right at the battery terminals. It’s the most accurate way.
- Check Before Charging: Make sure the voltage is in the recommended range before plugging in the charger.
- Monitor During Charging: Keep an eye on the voltage as it charges to avoid overcharging.
- Assess After Charging: Once done, verify the voltage to ensure the battery is fully charged and healthy.
Observe Charging Duration
After checking your battery’s voltage, it’s important to keep an eye on how long it takes to charge. Monitoring the charging time helps ensure you’re not overcharging, which can damage the battery.
Typically, the charging duration depends on your battery capacity; larger batteries take longer to charge. Be sure to consult your battery’s specifications for recommended charging times.
It’s a good idea to set a timer or check periodically to avoid leaving the charger connected longer than necessary. If you notice the battery heating up or charging much longer than expected, unplug it and reassess.
Safely Disconnecting Your Motorcycle Battery Charger
- Turn Off the Charger: Always switch off the charger before unplugging it. This helps prevent electrical surges.
- Remove the Negative Lead First: Start by disconnecting the negative (black) lead. Doing this first reduces the risk of short-circuiting.
- Then Remove the Positive Lead: Once the negative lead is off, carefully disconnect the positive (red) lead.
- Inspect Connections: Check the battery terminals for any corrosion or damage before sealing everything up.
Performing a Battery Health Check After Charging
Once you’ve safely disconnected your motorcycle battery charger, it’s important to check the battery’s health. Start by inspecting it for any visible damage like cracks or leaks. A healthy battery should look clean and have no corrosion on the terminals.
Next, check the voltage with a multimeter. A fully charged battery should read around 12.6 volts or higher. If it’s lower, you might want to review your charging process or think about replacing the battery.
Make sure your battery connections are tight and secure. Regular maintenance like cleaning terminals and checking fluid levels if needed can help extend the battery’s lifespan. If you notice any issues during your check, address them right away.
Following these steps will help keep your motorcycle battery in good shape, so it performs reliably on your rides ahead.
Frequently Asked Questions
How Long Does It Take to Charge a Motorcycle Battery Fully?
Charging time for a motorcycle battery can vary based on battery types. For a standard lead-acid battery, it usually takes about 4 to 8 hours to charge fully.
If you’ve got a lithium battery, it might only need 1 to 3 hours. Always check your charger’s specifications and the manufacturer’s guidelines to make sure you’re charging it correctly.
Can I Use a Car Charger for My Motorcycle Battery?
You might wonder, can you really use a car charger for your motorcycle battery? While it’s technically possible, it’s not recommended because of battery compatibility issues.
Car chargers usually deliver a higher voltage, which can damage your motorcycle battery. For your safety and battery health, stick to a charger specifically designed for motorcycles.
Using the right charger guarantees efficient charging without the risk of overheating or overcharging. This helps keep your ride reliable and your battery in good shape.
What Should I Do if My Battery Won’T Charge?
If your battery won’t charge, start with some battery troubleshooting. Check the connections for corrosion or looseness. Make sure the charger’s settings match your battery type.
If it’s still unresponsive, test the voltage—it might be dead. Use a smart charger that prevents overcharging for better results.
If problems keep happening, consider replacing the battery since it may have reached the end of its life. Also, don’t forget to check your motorcycle’s electrical system too!
Is It Safe to Charge a Battery Indoors?
Yes, it can be safe to charge a battery indoors, but you’ll want to take some safety steps. Make sure the area is well-ventilated to prevent gas buildup. Use a charger that’s designed for the specific battery type.
Keep flammable materials away from the charging area and never leave the charger unattended. If you can, try to monitor the charging process to catch any issues early.
Following these simple guidelines can help reduce risks, so you can charge your battery indoors without too much worry.
How Can I Extend My Motorcycle Battery’s Lifespan?
Just like a knight guards their trusty steed, you can protect your motorcycle battery with proper maintenance. Start by keeping it clean and making sure the connections are tight to prevent corrosion.
Use smart charging tips, like charging at the right voltage and avoiding overcharging. Regularly check the water levels in sealed batteries and think about using a trickle charger if your bike won’t be used for a while.
Conclusion
Charging your motorcycle battery doesn’t have to be intimidating. Just like tuning a guitar, it needs a bit of care and attention.
By following these seven steps, you’ll ensure your battery is charged safely and efficiently.
Always prioritize safety and double-check your connections before plugging in the charger.
Once your battery is revitalized, you’ll be ready to hit the open road again, feeling the freedom of the ride.
So, gear up and enjoy the journey ahead! Charging your motorcycle battery with a charger is easier than you think.